acme脚本学习笔记
1、acme脚本的安装
# 安装acme脚本
curl https://get.acme.sh | sh -s [email protected]
# 重新加载环境变量
source ~/.bashrc
# 建立软链接
ln -s /root/.acme.sh/acme.sh /usr/local/bin/acme.sh
注意:安装完acme脚本后,需重新加载环境变量,不然会报错:acme.sh: command not found。
2、acme脚本的基本使用
# 切换ca机构
acme.sh --set-default-ca --server letsencrypt
acme.sh --set-default-ca --server zerossl
# nginx模式申请证书
acme.sh --issue -d xxx.example.com --nginx /usr/local/nginx/conf/nginx.conf
# dns模式申请证书(以cloudflare为例)
# 具体配置见https://github.com/acmesh-official/acme.sh/wiki/dnsapi
acme.sh  --issue --dns dns_cf -d xxx.example.com
# 安装证书
acme.sh --install-cert -d xxx.example.com \
--key-file       /etc/nginx/ssl/xxx.example.com.key.pem  \
--fullchain-file /etc/nginx/ssl/xxx.example.com.cert.pem \
--reloadcmd     "service nginx force-reload"
3、其余命令
# 查看已安装证书信息
acme.sh --info -d example.com
# 开启acme脚本自动升级
acme.sh --upgrade --auto-upgrade
# acme脚本卸载
acme.sh --uninstall
rm -rf ~/.acme.sh/
# acme脚本移除证书
acme.sh --remove -d xxx.example.com --ecc
rm -rf /root/.acme.sh/xxx.example.com_ecc
4、申请用于测试或开发环境中的证书
# --staging 或 --test: 使用 Staging Environment 的服务器进行测试。
# 这样获取的证书不被公认为有效,主要用于测试和开发。
acme.sh --issue --dns dns_cf --staging -d test.example.com
更多关于--staging和--test参数的解释
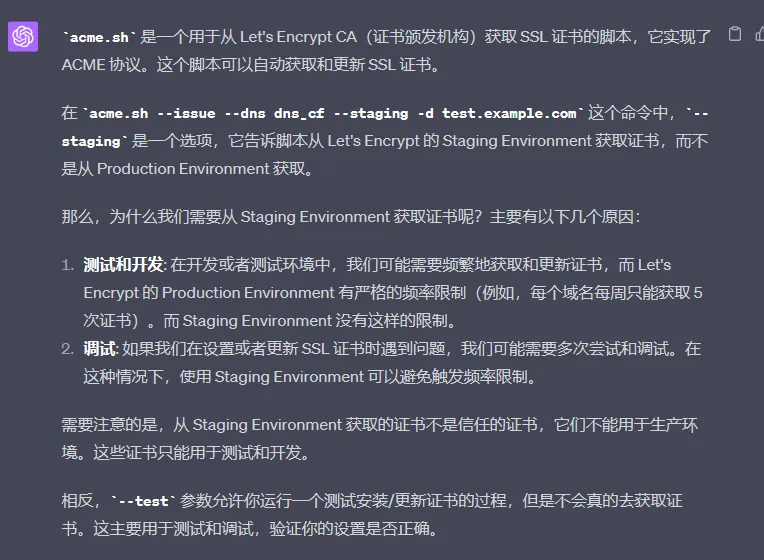
注:测试证书不需要删除,它会自动被正式证书覆盖。